XIR Easy Kit Installation Guide
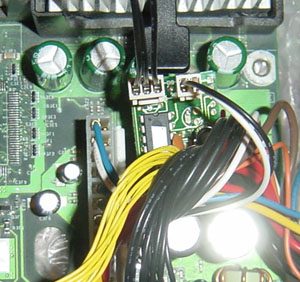
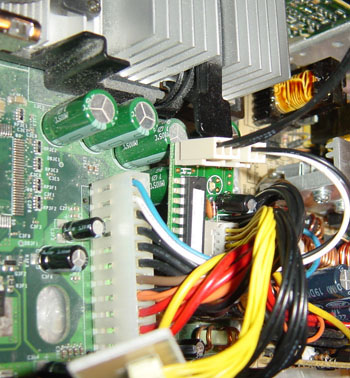
Step 1 - Locate the Connector with 2 wires, Light Colored wire and Dark Colored wire.

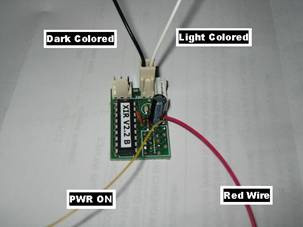
Photo Courtesy of Sebastian Doan
Xbox Version 1.6:
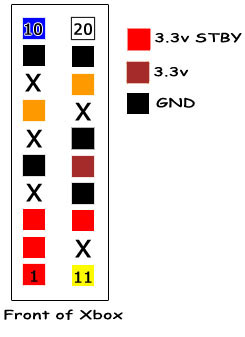
Insert the Light Colored wire into the molex connector in the wire labeled '3.3v STB'.
Insert the Dark Colored wire into the molex connector labeled '3.3v'
Do not worry about GND
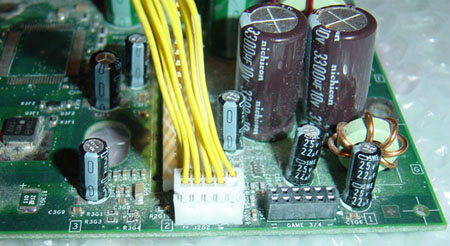
Step 2 - Disconnect the Yellow wire connector coming from the front panel of the xbox to the motherboard.
Step 3 - Connect the Yellow wire connector coming from the front panel of the xbox to the XIR.
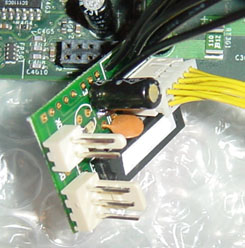
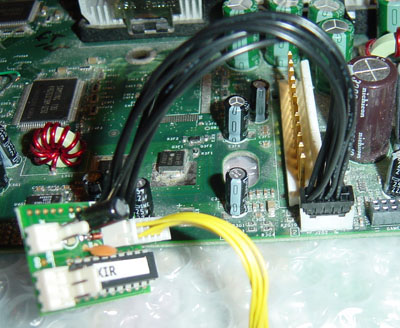
Step 4 - Connect wires from the XIR into the socket on the motherboard where the yellow wires used to connect (from step 2).
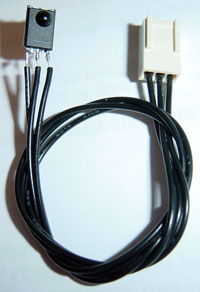
Step 5 - Locate the IR Receiver and connect to the XIR Unit in the proper location.
Step 6 - Connect the connector with 2 wires from step 1 to the XIR, the LED should turn ON if xbox has power connector plugged in.
Step 7 - Hide the XIR underneath the molex wires (to the right of the molex connector) as show in the pictures below:
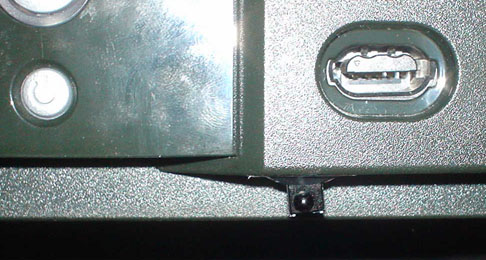
Step 8 - Hide the IR Sensor by sliding it thru the front bottom grill
Installation is Complete.
Once the XBOX has power connected, the XIR's LED should remain turned on.
|